

- Written by: Team Vura
Bathroom Waterproofing Step-by-Step Guide
Bathroom waterproofing is the most critical phase of home construction and renovation. Failing to properly seal wet areas leads to damp walls, structural corrosion, and costly repairs. To ensure your bathroom remains a sanctuary free from leaks, following the correct bathroom waterproofing steps is non-negotiable.
This guide details the professional approach to waterproofing and the high-performance materials required to guarantee a leak-free environment.
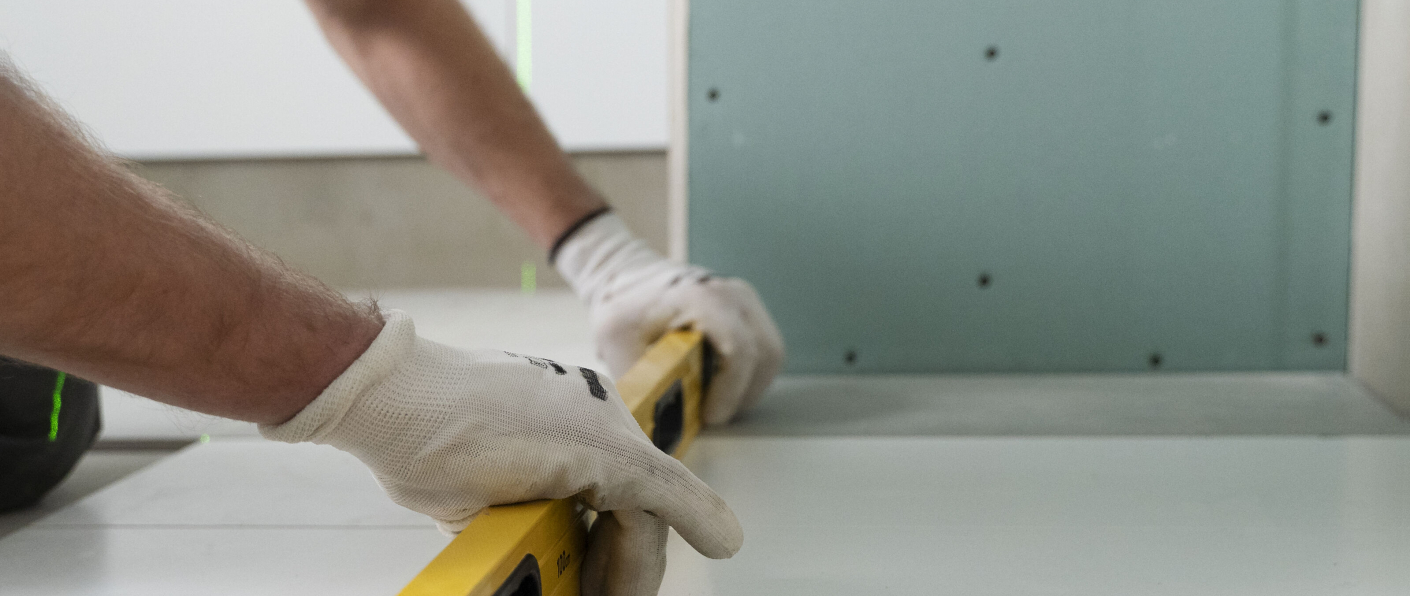
Phase 1: Surface Preparation
Before any waterproofing product touches the floor, the substrate must be ready.
- Clean the Area: Remove all dust, grease, loose mortar, and debris. The surface must be structurally sound and clean.
- Fill Cracks: Use a high-quality sealant to fill any visible cracks in the concrete slab.
- Create Coving: Ensure the corners (where the wall meets the floor) have a coving or a "fillet" shape to prevent water accumulation.
Phase 2: Application of Waterproofing Membrane
Apply a high-quality liquid waterproofing membrane in at least two coats.
- First Coat: Apply horizontally, ensuring all corners and pipe penetrations are sealed.
- Second Coat: Once the first coat is dry, apply the second coat vertically.
- Flood Testing: After curing (24–48 hours), block the drain and flood the bathroom with water for 24 hours to check for leaks.
Phase 3: Choosing the Right Adhesive System
Once the waterproofing membrane is set, the choice of adhesive determines long-term durability. Using the correct tile fixing solution India professionals trust is essential for wet areas.
| Requirement | Recommended Material |
|---|---|
| General Wet Area Bonding | Waterproof tile adhesive India |
| Non-Porous Surface Fixation | Tile adhesive for vitrified tiles India |
| Heavy-Duty / High-Traffic | Polymer modified tile adhesive India |
| Movement Resistance | Flexible tile adhesive S1 S2 India |
Phase 4: Proper Tile Installation Steps
- Notched Trowel Application: Avoid the "dot and dab" method. Ensure full adhesive coverage (100% bedding).
- Back-Buttering: For large tiles, apply adhesive to the tile back before installation.
- Spacing: Use tile spacers (minimum 2mm) to allow movement and prevent cracks.
- Curing: Allow at least 24 hours before grouting.
Why Quality Materials Matter
In the Indian climate, where humidity fluctuates, standard cement mortar is insufficient. Using a polymer modified tile adhesive India ensures superior bond strength, flexibility, and water resistance.
If you are renovating a bathroom, investing in the best tile adhesive in India ensures durability and performance. A leak is not just an inconvenience—it is a structural risk.
Pro-Tip: Maintenance Check
Monitor grout lines regularly. If cracks or gaps appear, re-grout immediately to prevent water seepage, even when using high-quality tile fixing solutions.
Are you planning a renovation or dealing with a leak? Choosing the right materials today will save you major repair costs in the future.


