Drag Mouse Over The Image To Zoom View.
Description
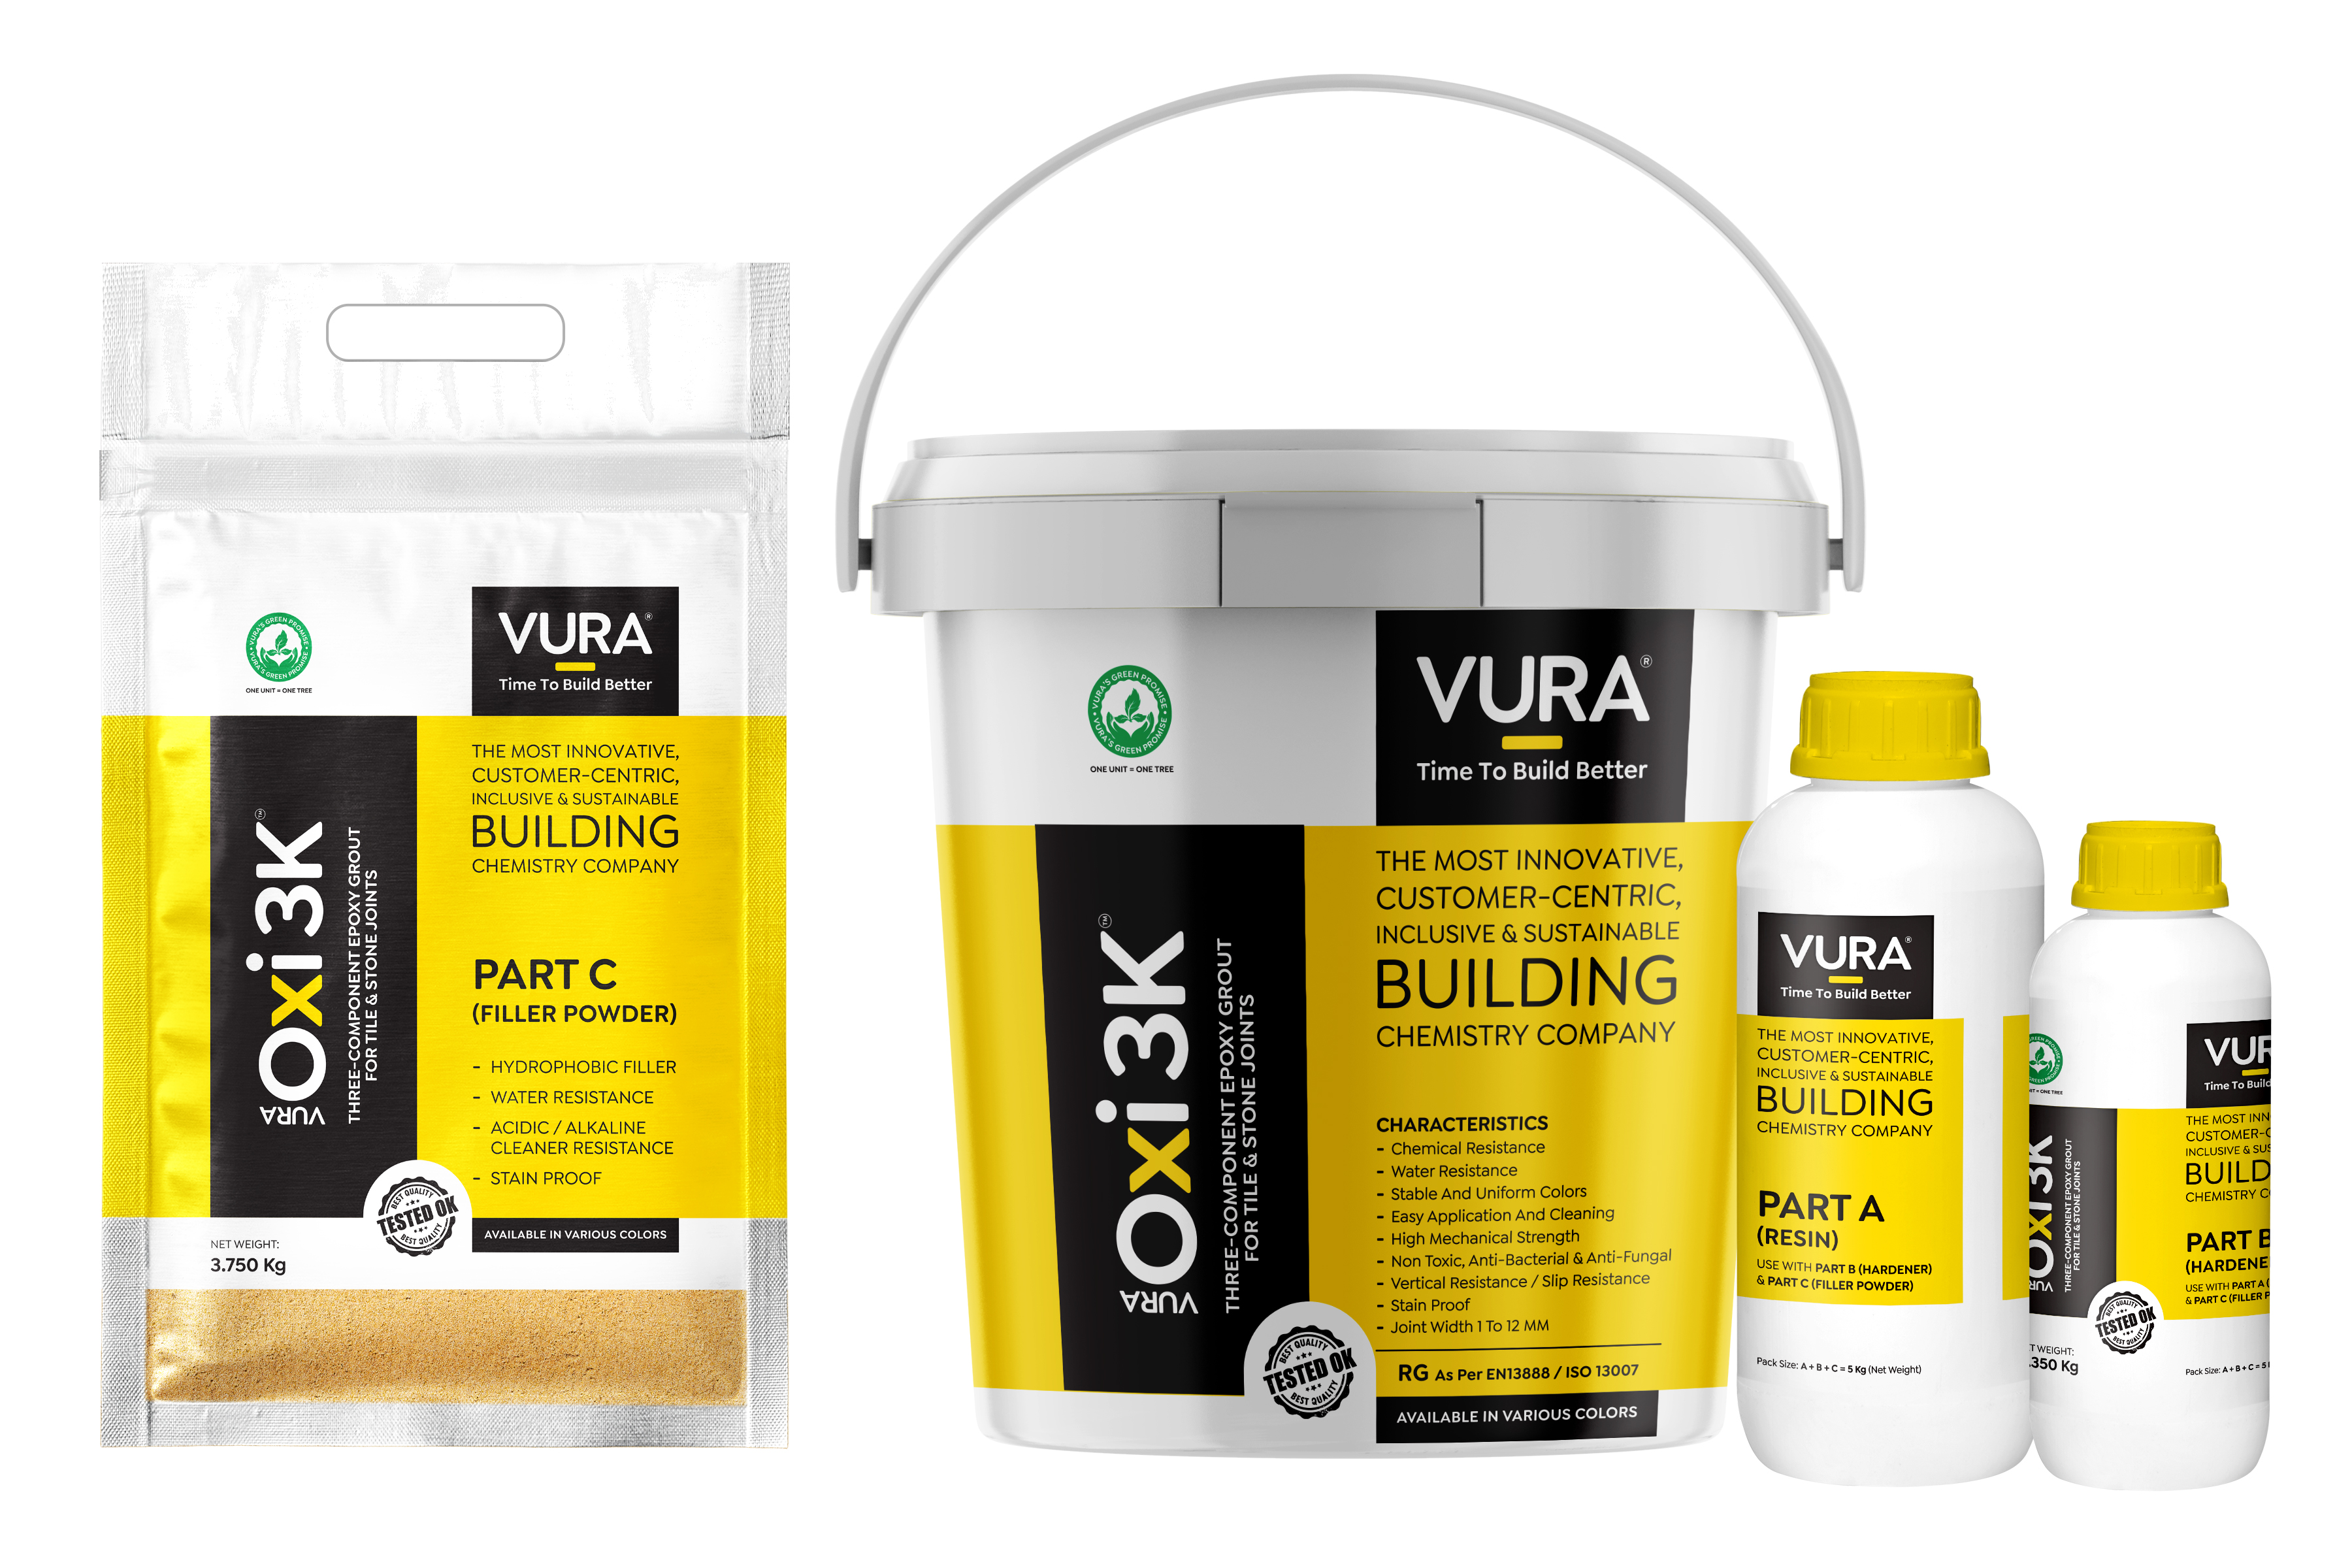
VURA Oxi 3K
Three component chemical resistant epoxy grout for grouting of tiles, mosaics and stones, where hygiene is of utmost importance such as bathrooms, kitchens, living room, bathroom, hospitals, laboratories, food & beverages industries, dairy industries, swimming pools, showrooms, airports and high traffic areas. It is stain free grout for interior and covered exterior floor and wall.
It is chemical resistant joint filler and is available in 24 colors. VURA Oxi 3K is classified as RG as per EN13888/ISO 13007.

CHARACTERISTICS
- Stain free
- Indoor and Covered Outdoor Use
- Optimized UV and weather resistant
- Stable and uniform colors for all types of tiles/stones
- Easy application and cleaning
- Excellence chemical resistance
- High mechanical strength
- Non-cracking or powering
- Non-Toxic, Anti-bacterial & Anti-Fungal
- Strong, Durable
- Ideal for waterproof grouting
- Vertical resistance/Slip resistance
- Joint width to 1 to 12 mm
- Suitable for the contact with food
- Available in 24 colors
Documents & Downloads
Usage Guide
SUBSTRATE PREPARATION
Remove debris in grout joints and clean with scrubber the tile surface to remove dust and dirt before starting grout. Do not clean tiles with acid cleaners. In case acid cleaners were used to clean the tiles, ensure to wash the area with plenty of water before commencing grouting.
APPLICATION
MIXING
Vura Oxi 3K - stir Part - A before use, then add Part "A" and Part "B" into a clean mixing pail. Mix with a trowel or a slow speed drill mixer until homogeneous consistency. Add the remaining filler powder and mix to achieve a stiff mix to work into the joints. Immediately pour entire contents of bucket onto working area. Use a plastic sheet as a drop cloth. Use standard epoxy grouting techniques to work with Vura Oxi 3K Grout into tile joints. Make sure all grout joints are filled properly. Remove as much excess material as possible before initial cleaning with grout float. Do not leave excess grout on the face of tiles.
CLEANING
Remove excess grout from the face of the tiles with the edge of the grout float. Hold the float at a 90 angle and pull it diagonally across the joints and tile to avoid pulling out the material.

Description
VURA Oxi 3K
Three component chemical resistant epoxy grout for grouting of tiles, mosaics and stones, where hygiene is of utmost importance such as bathrooms, kitchens, living room, bathroom, hospitals, laboratories, food & beverages industries, dairy industries, swimming pools, showrooms, airports and high traffic areas. It is stain free grout for interior and covered exterior floor and wall.
It is chemical resistant joint filler and is available in 24 colors. VURA Oxi 3K is classified as RG as per EN13888/ISO 13007.
CHARACTERISTICS
- Stain free
- Indoor and Covered Outdoor Use
- Optimized UV and weather resistant
- Stable and uniform colors for all types of tiles/stones
- Easy application and cleaning
- Excellence chemical resistance
- High mechanical strength
- Non-cracking or powering
- Non-Toxic, Anti-bacterial & Anti-Fungal
- Strong, Durable
- Ideal for waterproof grouting
- Vertical resistance/Slip resistance
- Joint width to 1 to 12 mm
- Suitable for the contact with food
- Available in 24 colors
Usage Guide
Vura Oxi 3K - stir Part - A before use, then add Part "A" and Part "B" into a clean mixing pail. Mix with a trowel or a slow speed drill mixer until homogeneous consistency. Add the remaining filler powder and mix to achieve a stiff mix to work into the joints. Immediately pour entire contents of bucket onto working area. Use a plastic sheet as a drop cloth. Use standard epoxy grouting techniques to work with Vura Oxi 3K Grout into tile joints. Make sure all grout joints are filled properly. Remove as much excess material as possible before initial cleaning with grout float. Do not leave excess grout on the face of tiles.
CLEANING
Remove excess grout from the face of the tiles with the edge of the grout float. Hold the float at a 90 angle and pull it diagonally across the joints and tile to avoid pulling out the material.


